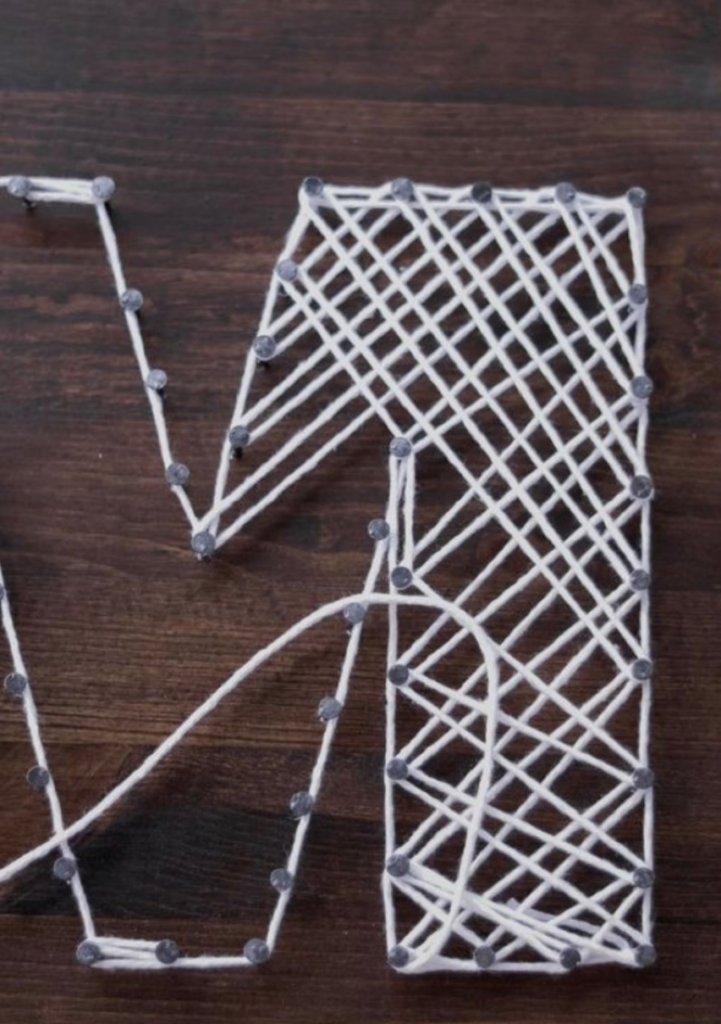
String Art – A Mother’s Day Gift Idea
Contributed by Tosha Kerby

Materials:
• Wood Board (12×24 was used)
• 3 sheets of Printer Paper/Printer
• 1¼ inch nails, with large heads.
• Scissors
• Hammer
• String
• 1 inch wooden clips
• E6000 or Glue Gun
• Wallet Size Pictures
• Hanging Hardware
Step #1
Stain or Paint your wood plank. We chose a Dark Stain; Jacobean
Step #2
Print out the letters M O M , we replaced the O with a heart, one letter for each 8.5 x 11 sheet (Font used: Haettenschweiler)
*Do this while your stain/paint is drying
Step #3
Line up your letters on your board leaving
more space at the top.
Step #4
Outline your letters with your 1¼ inch nails,
approx. ½ inch apart
Step #5
Remove the paper out from under the nails,
make sure to tear it all out.
Step #6
Take your string and tie it on to a nail on your first letter
Step #7
Outline your letter first and then you can start crossing between nails as you wish to fill in the center of the letter. Get creative here you can make it as neat or as messy looking as you would like. Once it is filled in tie it off in a knot.
Step #8
Repeat step #7 on the remaining letters.
Step #9
Take your wood clips and space them out along the top, decide on how many pictures you would like to clip to the board, the number of clips can be adjusted on this step.
Step #10
Once you have them spaced out take your E6000 or glue gun and put a dot of glue under each clip to secure it to the board.
Step #11
Add pictures!
Step #12
You can add hanging hardware of your choice and give the gift of a hand made item.